How to make a camping stove using a can
Camping is a great way to get out into nature and experience the great outd...

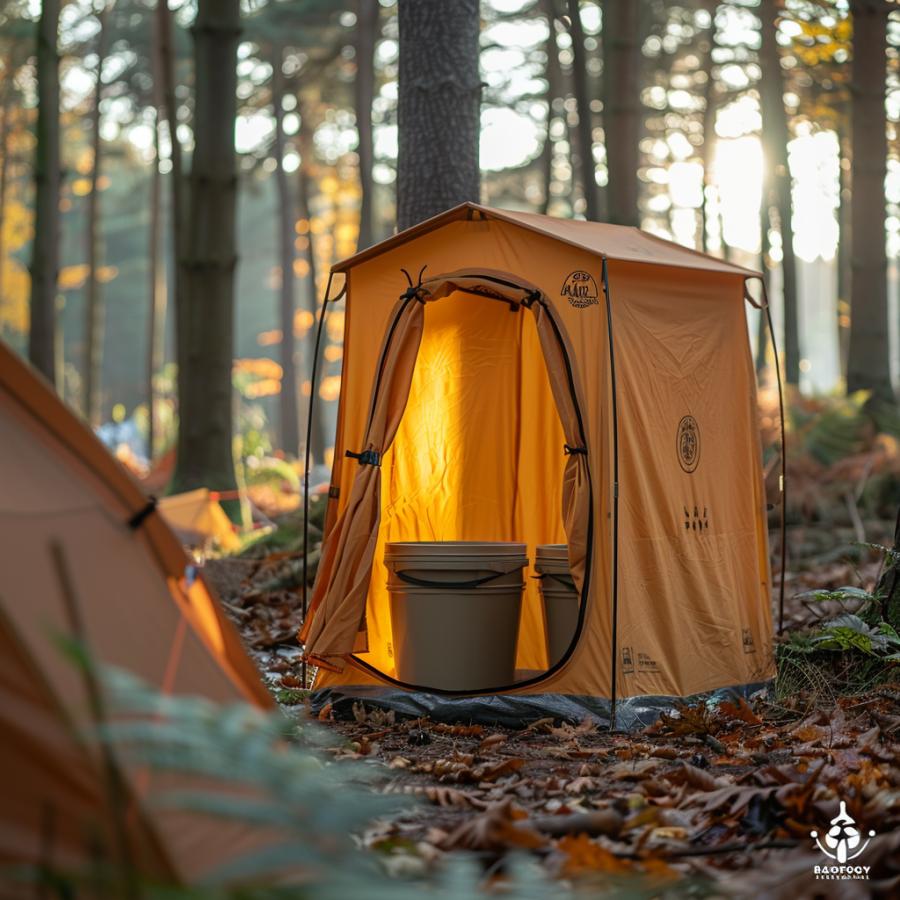
Camping is a great way to get away from the hustle and bustle of everyday life and reconnect with nature. However, one aspect of camping that can be a bit of a challenge is dealing with waste management. If you're planning a camping trip and don't want to deal with the hassle of digging a hole or finding a public toilet, a camping toilet using a bucket might be the solution for you. In this article, we'll walk you through the steps of how to make a camping toilet using a bucket so you can enjoy your camping experience without worrying about where to go when nature calls.
Step 1: Gather the materials
The first step in creating your camping toilet is to gather all of the materials you'll need. You'll need a 5-gallon bucket with a lid, a toilet seat, a toilet paper holder, and a bag or container to hold the waste. You'll also need a toilet deodorizer, such as baking soda or sawdust, to keep odors at bay.
Step 2: Install the toilet seat
Once you have all of your materials, it's time to install the toilet seat. This is a simple process that can be done with just a few tools. First, place the bucket upside down on a flat surface and mark the center of the lid. Then, using a drill and a large hole saw, cut a hole in the center of the lid that is slightly larger than the toilet seat.
Next, place the toilet seat on top of the hole and secure it in place using the hardware that came with it. Make sure the seat is level and tight to prevent any leaks.
Step 3: Install the toilet paper holder
The next step is to install a toilet paper holder. You can use a simple plastic holder that attaches to the side of the bucket or a more elaborate holder that hangs from the lid. The choice is yours, but make sure you have a place to put the toilet paper so it's easily accessible.
Step 4: Add the waste container
Now that the toilet seat and toilet paper holder are in place, it's time to add the waste container. This can be a simple plastic bag or a container with a lid. Make sure to choose a container that is large enough to hold the waste for your entire camping trip.
Step 5: Add the toilet deodorizer
To keep odors at bay, add a toilet deodorizer to the bottom of the waste container. Baking soda or sawdust work well and can be purchased at most camping supply stores. Make sure to add enough deodorizer to cover the bottom of the container and add more as needed throughout your camping trip.
Step 6: Use your camping toilet
Now that your camping toilet is all set up, it's time to start using it. When you need to use the toilet, simply place the lid on the bucket, sit down, and do your business. When you're finished, add a bit more deodorizer, and put the lid back on the waste container. Make sure to dispose of the waste properly when you return home.
By following these simple steps, you'll have a camping toilet that is easy to use and keep clean. A camping toilet using a bucket is a great solution for anyone who wants to enjoy the great outdoors without worrying about where to go when nature calls. With a little bit of planning and a few simple materials, you can have a camping toilet that will last you for years to come.
In conclusion, a camping toilet using a bucket is a great solution for anyone who wants to enjoy the great outdoors without worrying about waste management. With a little bit of planning and a few simple materials, you can

Camping is a great way to get out into nature and experience the great outd...

Camping is a great way to get out of the city and into nature. It's a ...

Camping hammocks are a great way to enjoy the outdoors while also staying c...